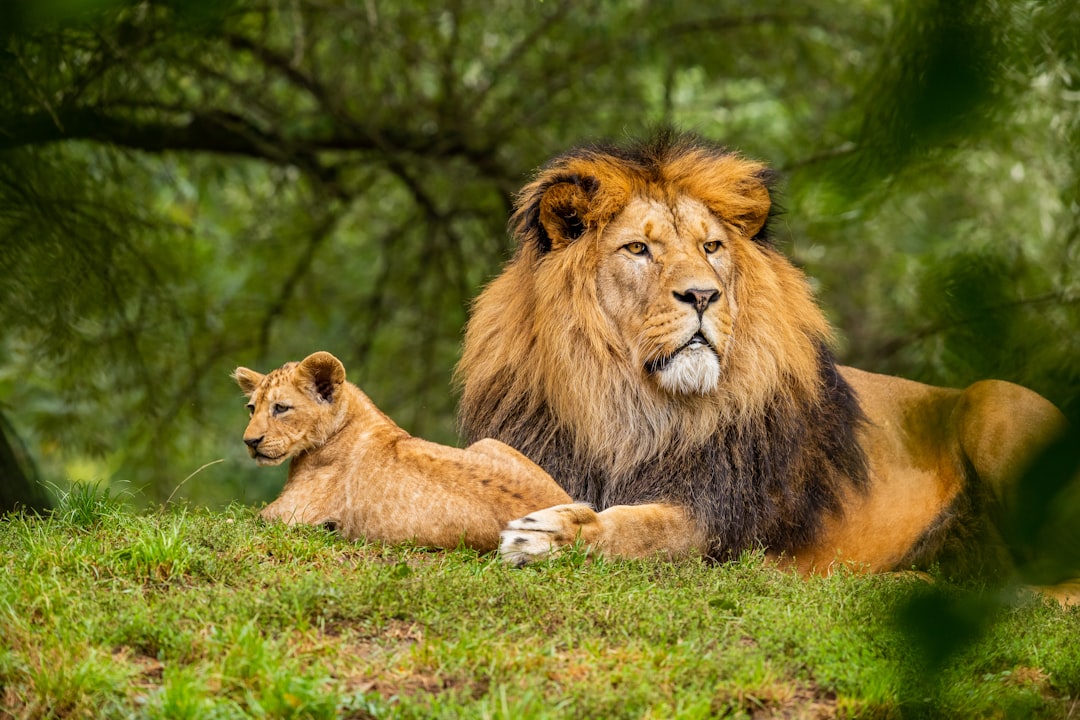
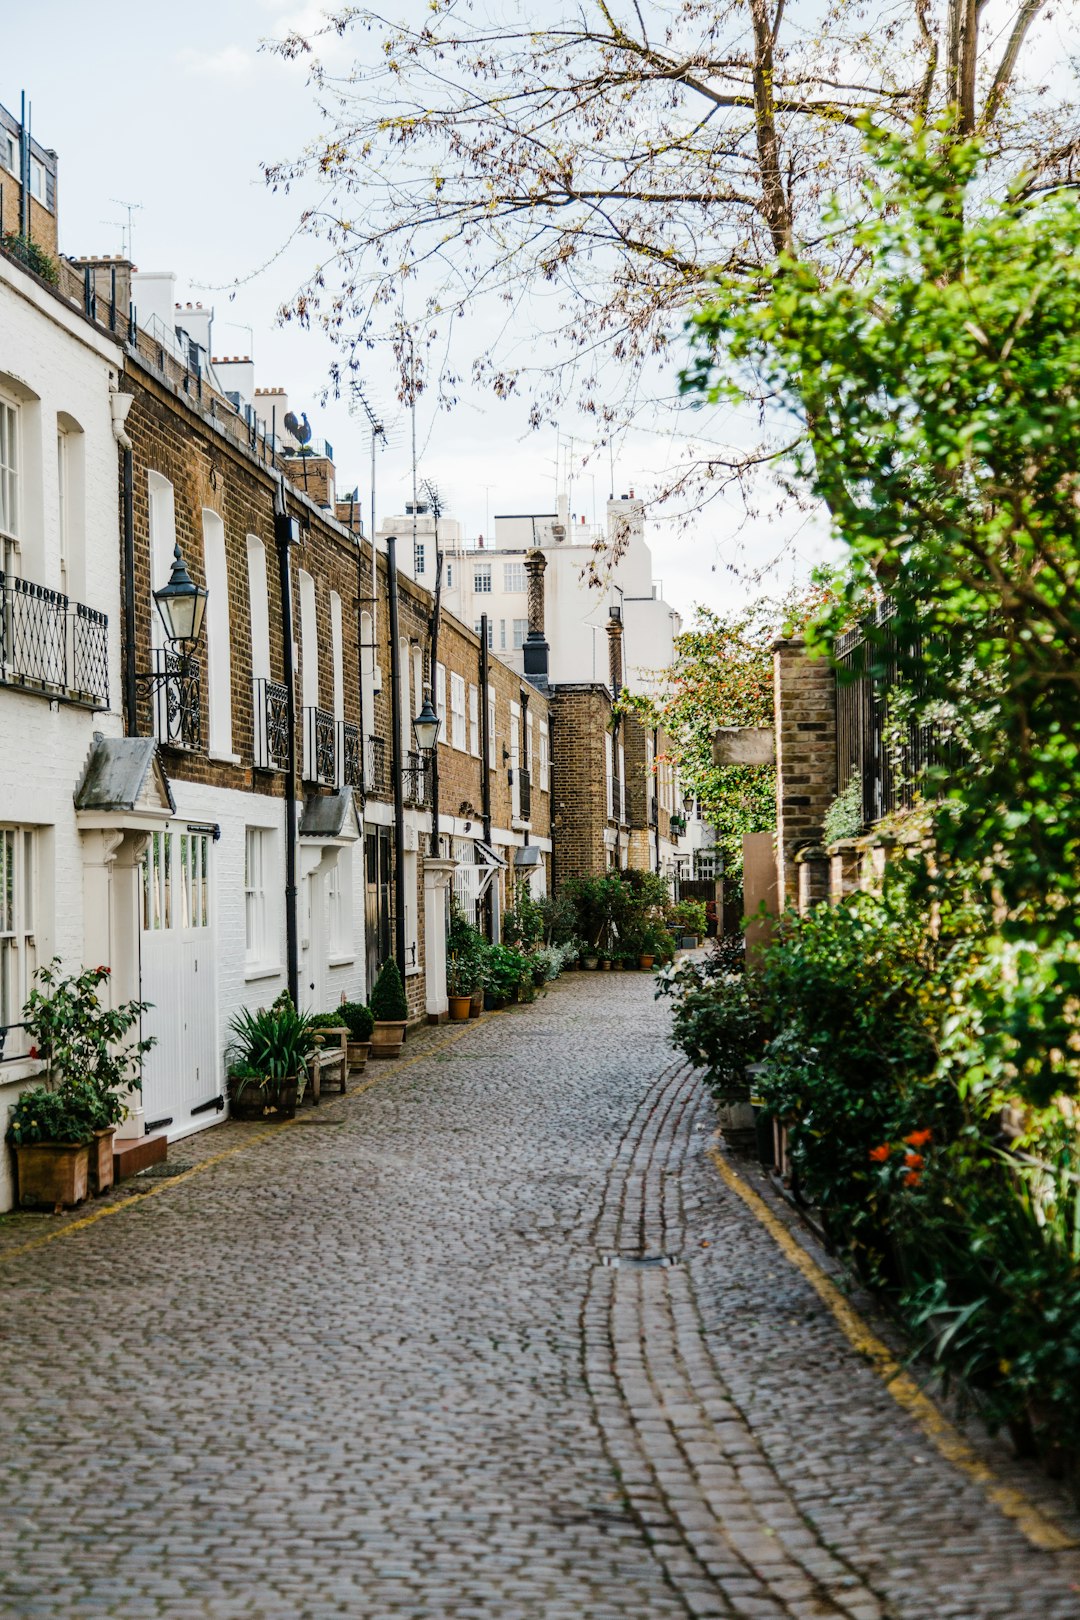
While capturing a great image in-camera is essential, mastering advanced post-processing techniques can elevate your photography to new heights. Adobe Lightroom offers powerful tools that, when used skillfully, can transform good photos into exceptional ones. This guide explores advanced Lightroom techniques that go beyond basic adjustments to help you develop your unique editing style and create images that stand out.
Moving Beyond the Basics: Advanced Lightroom Workflow
Before diving into specific techniques, it's important to establish an efficient advanced workflow. This structured approach ensures consistency and helps you develop your editing style.
1. Culling and Organization
Even advanced editors benefit from a disciplined approach to culling. Use flags, stars, and color labels to quickly identify your strongest images. Consider creating smart collections based on metadata to automatically organize photos by project, client, or style.
2. Non-Destructive Editing with Virtual Copies
Create virtual copies to experiment with different editing approaches without duplicating files. This allows you to develop multiple versions of an image—perhaps one color and one black and white, or different crop ratios for various publishing platforms—while maintaining your original.
3. Establishing Reference Images
Use the Reference View feature (press Shift+R in Develop module) to compare your current edit with a reference image. This is invaluable for matching styles across a series or recreating a look you've developed previously.
Advanced Color Grading Techniques
Color is perhaps the most powerful emotional element in photography. Lightroom's color tools extend far beyond basic temperature and tint adjustments.
HSL Targeting for Precise Color Control
The HSL (Hue, Saturation, Luminance) panel allows for targeted control over specific color ranges. Rather than using the sliders directly, try the targeted adjustment tool (the small circle icon in the upper left of the panel) for intuitive adjustments. Click and drag up or down on specific areas of your image to adjust only those colors.
For advanced color separation, try desaturating competing colors while enhancing your main color. For example, in autumn foliage shots, slightly desaturate greens while enhancing oranges and reds for more impactful color contrast.
Split Toning and Color Grading for Mood
The Color Grading panel (which replaced Split Toning in recent Lightroom versions) provides sophisticated control over shadows, midtones, and highlights separately. This creates depth and dimension through color.
Try these creative approaches:
- Complementary colors (opposite on the color wheel) in shadows and highlights create subtle tension—try blue in shadows and orange in highlights for a cinematic look
- Analogous colors (adjacent on the color wheel) create harmony—try purple in shadows and blue in highlights for a cohesive cool mood
- Use the global wheel to unify your image with a subtle color cast after setting shadow and highlight tones
- Keep saturation subtle (usually under 20) for sophisticated results
Calibration Panel for Color Foundations
The often-overlooked Calibration panel at the bottom of the Develop module affects the fundamental rendering of colors in your image. Small adjustments here impact all other color work.
Try shifting the Blue Primary hue toward purple (+20 to +40) and increasing its saturation slightly for richer skies and more pleasing skin tones. Similarly, subtle shifts in Red Primary can dramatically impact skin tones and warm elements in your image.
Advanced Tonal Control
Luminance Masking with the Range Mask
When using graduated or radial filters, activate the Range Mask option and select "Luminance." This restricts your adjustments to specific brightness ranges, allowing for sophisticated tonal control.
For example, when darkening a bright sky with a graduated filter, use luminance masking to protect any darker elements (like mountain tops or buildings) that extend into the sky, creating a more natural result.
Tone Curve Techniques
The Tone Curve is one of Lightroom's most powerful tools for contrast and tonal relationships. Switch to the Point Curve for precise control.
Try these advanced curve techniques:
- S-Curve for Cinematic Contrast: Create a subtle S-shape by slightly lifting highlights and dropping shadows while keeping midtones relatively unchanged
- Matte Look: Lift the very bottom left point of the curve to create a "matte" effect that softens blacks without making the entire image look washed out
- RGB Curves for Color Shifts: Use the individual Red, Green, and Blue channel curves to introduce subtle color shifts in specific tonal ranges
Enhancing Dimension with Texture, Clarity, and Dehaze
While basic editors often apply these sliders globally, advanced editing calls for targeted application:
- Use the Adjustment Brush with Clarity to enhance only textural elements like architectural details or water
- Apply negative Clarity with a brush on skin or sky for softer rendering
- Use Dehaze selectively on distant elements in landscapes to cut through atmospheric haze without affecting foreground elements
- Try Texture for subtle skin refinement that preserves pore detail while reducing small imperfections
Selective Adjustments and Masking
Advanced Brush Techniques
The Adjustment Brush becomes more powerful with these advanced approaches:
- Layer Brushes: Create multiple brush adjustments that overlap for compounding effects
- Dodging and Burning: Use separate brushes with positive and negative exposure to sculpt light in portraits or landscapes
- Auto Mask: Enable this option when working along high-contrast edges for more precise selections
- Flow and Density: Lower Flow settings (around 50%) allow for gradual, controlled build-up of effects
Complex Masking with Intersections
Combine multiple selection methods to create sophisticated masks:
- Use a radial filter with a Color Range mask to target only certain colors within that radial area
- Combine gradient filters with brush erasing to create complex geometric selections
- Stack multiple radial filters with different feathering for precise vignetting effects
Creating and Using Presets Effectively
Building Modular Presets
Rather than creating all-in-one presets, develop a system of modular presets that each handle specific aspects of your editing:
- Base tone presets for different lighting conditions
- Color grading presets for various moods
- Finishing presets for final touches like grain, vignetting, and sharpening
This modular approach allows for more flexibility and customization than relying on comprehensive presets.
Adaptive Presets
When creating presets, be selective about which settings to include. For example, when making a color grading preset, don't include exposure or contrast settings that should be adjusted individually for each image.
For portrait presets, exclude white balance if shooting in varying lighting conditions, but include skin tone adjustments that work across different subjects.
Creative Effects and Techniques
Advanced Black and White Conversions
Great black and white images go far beyond simply removing color:
- Use the Black & White Mix panel to adjust how individual colors translate to grayscale tones
- Try the "Targeted Adjustment Tool" in the B&W panel to click and drag directly on the image areas you want to lighten or darken
- Apply split toning to add subtle color to shadows and highlights for a duotone effect
- Create contrast through Clarity and Texture rather than just the Contrast slider for more nuanced results
Creative Vignetting
Move beyond basic post-crop vignetting with these techniques:
- Use multiple radial filters with different feathering for natural light falloff
- Create "bright vignettes" by using positive exposure in a central radial filter to draw attention to your subject
- Apply color tints to your vignette using the Temperature and Tint sliders in a radial filter
Simulating Film Characteristics
Digital sensors capture images differently than film. To recreate film aesthetics:
- Use the Tone Curve to reduce contrast in shadows while maintaining it in highlights
- Add subtle grain in the Effects panel, adjusting size and roughness to match specific film stocks
- Slightly reduce saturation while using the Calibration panel to shift colors subtly
- Introduce channel mixing in the Calibration panel to recreate how different films rendered certain colors
Advanced Sharpening and Noise Reduction
Detail-Aware Sharpening
Standard sharpening can create artifacts and halos. For more sophisticated results:
- Use the Masking slider (hold Alt/Option while adjusting to see the mask) to target sharpening only to edges
- Adjust the Radius based on image content—lower (0.5-0.8) for fine detail, higher (1.2-1.5) for portraits and softer subjects
- Apply different sharpening to different image areas using the Adjustment Brush
Balancing Noise Reduction and Detail
Advanced noise reduction preserves important details while smoothing unwanted noise:
- Address color noise before luminance noise
- Use the Detail and Contrast sliders in the Noise Reduction panel to recover texture after applying luminance noise reduction
- Apply stronger noise reduction to out-of-focus areas using masks, while preserving detail in key focal points
Finalizing Your Signature Style
Analyzing and Reverse-Engineering
Developing your signature style often involves studying work you admire:
- Import images you find inspiring and analyze their histograms and RGB curves
- Try to recreate their look using the techniques described above
- Use Before/After view (press Y) to compare your original to your edit
Consistency Across Your Portfolio
Professional results require consistency. Create a personal editing checklist that includes:
- Color palette preferences (warm vs. cool, saturated vs. muted)
- Contrast and tonal range standards
- Signature techniques that define your work
- Final quality control checks for common issues
Conclusion
Advanced Lightroom editing is less about knowing every feature and more about understanding how to combine techniques creatively to achieve your vision. Remember that these tools serve your creative intent—they're not ends in themselves.
The most sophisticated edits often involve subtle adjustments working together harmoniously rather than extreme applications of any single technique. Take time to experiment, create before-and-after comparisons, and develop a workflow that supports your unique photographic style.
As you master these advanced techniques, your editing will become more intentional and refined, allowing you to consistently produce images that reflect your creative vision and stand out in an increasingly visual world.


